A good RAW image is the fundamental building block of a great photograph. It is the light the camera sensor sees with no alteration or processing. Careful attention to detail will allow you to capture all the information required to create a really great final image. I describe below my workflow from camera, through composition to correct focus and exposure:
Camera
Composition and light
Focus:
Exposure:
Take the shot, 'make' the RAW file.
RAW files often look flat, and it is hard to image a gorgeous final image emerging from such a pool of sludge. This is deliberate, they are compressing all the light information into a file of digital information and reducing the tonal range and contrast between elements of the image to ensure the full range of light is captured. The aim of processing is to extract all that information and present it in a way pleasing to the eye. A RAW image is like a film negative, if successful it captures all the light information from the scene. Processing the RAW image is like printing a negative on paper, it reveals the information contained in the image and presents it with, or without, interpretation.
Camera
- ISO: as low as possible e.g. ISO 100 or ISO 200
- aperture priority mode
- autofocus (single) or Manual focus
- a circular polarising filter for clouds and blue skies - you cannot reproduce the effect of a polariser in processing
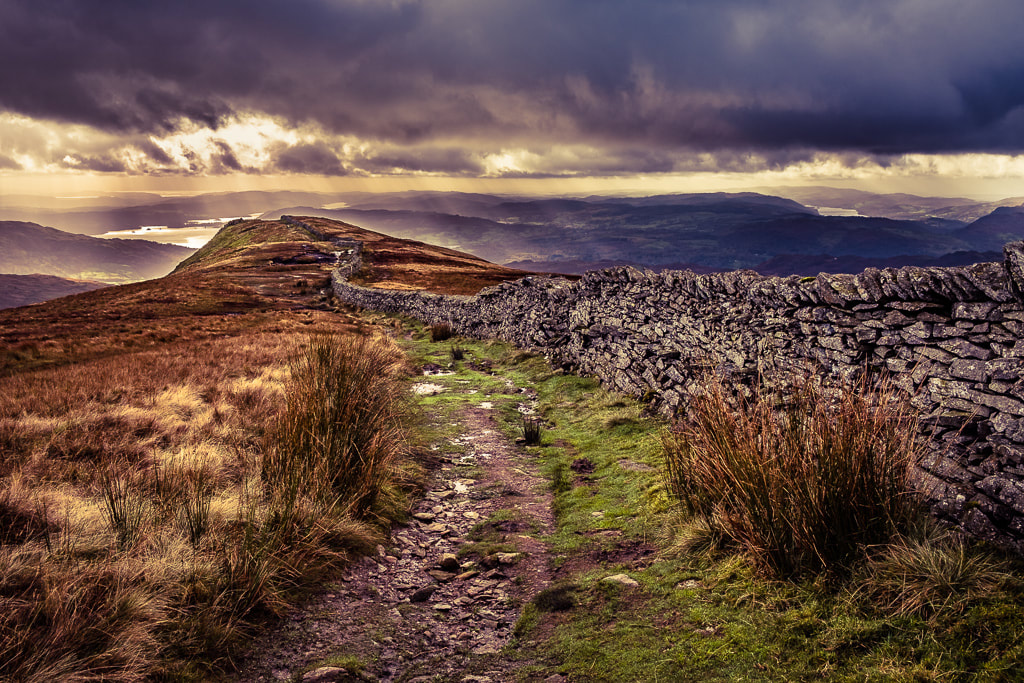
Composition and light
- you can do what you want here but remember the 'rule of thirds', a strong foreground element will look balanced when placed 1/3 of the way between the bottom or top of the image, and 1/3 between the left and right
- the 'golden hour' after sunrise and sunset creates beautiful saturated images, but too often the sun is nowhere to be seen. Some of my best shots have occurred in the middle of the day when the sun has burst through the clouds e.g. Little Langdale, or on a dull day when an object of interest has been evenly lit by diffuse light through the clouds e.g. Stickle Tarn.
- a one to one with the great landscape photographer Derry Brabbs taught me:
- to include enough sky in the image to give context
- to give objects of interest like trees and cairns "room to breathe"'
- not to include unnecessary branches, rocks or other distractions
Focus:
- Focus, and adjust the aperture, to ensure all elements of the image are in focus (depth of field)
- Check shutter speed to ensure the image is sharp. You can just about handhold 1/focal length of lens, 4-5 stops lower if the lens or camera body are image stabilised. Use a tripod if in doubt
Exposure:
- correct exposure is essential to ensure the full range of tones are captured in the RAW file
- look at the histogram if possible
- use exposure compensation to adjust if required
- if beyond the dynamic range of the sensor, expose for the highlights, the shadows are more forgiving in the final image
- if in doubt take several images with exposures above and below around the recommended i.e. 'bracket'
Take the shot, 'make' the RAW file.
RAW files often look flat, and it is hard to image a gorgeous final image emerging from such a pool of sludge. This is deliberate, they are compressing all the light information into a file of digital information and reducing the tonal range and contrast between elements of the image to ensure the full range of light is captured. The aim of processing is to extract all that information and present it in a way pleasing to the eye. A RAW image is like a film negative, if successful it captures all the light information from the scene. Processing the RAW image is like printing a negative on paper, it reveals the information contained in the image and presents it with, or without, interpretation.