|
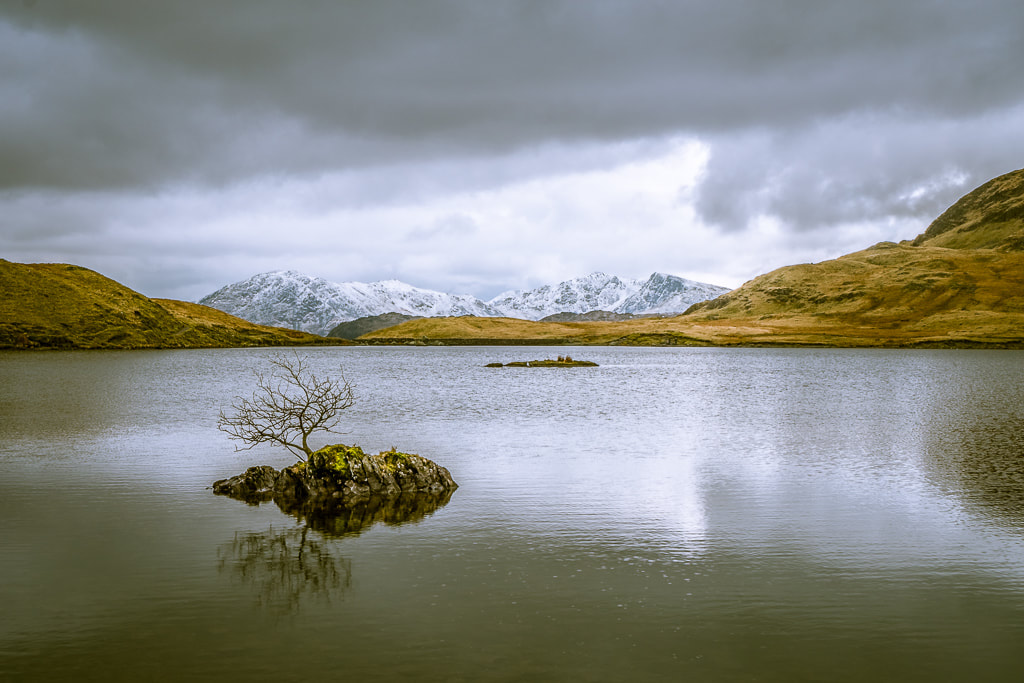
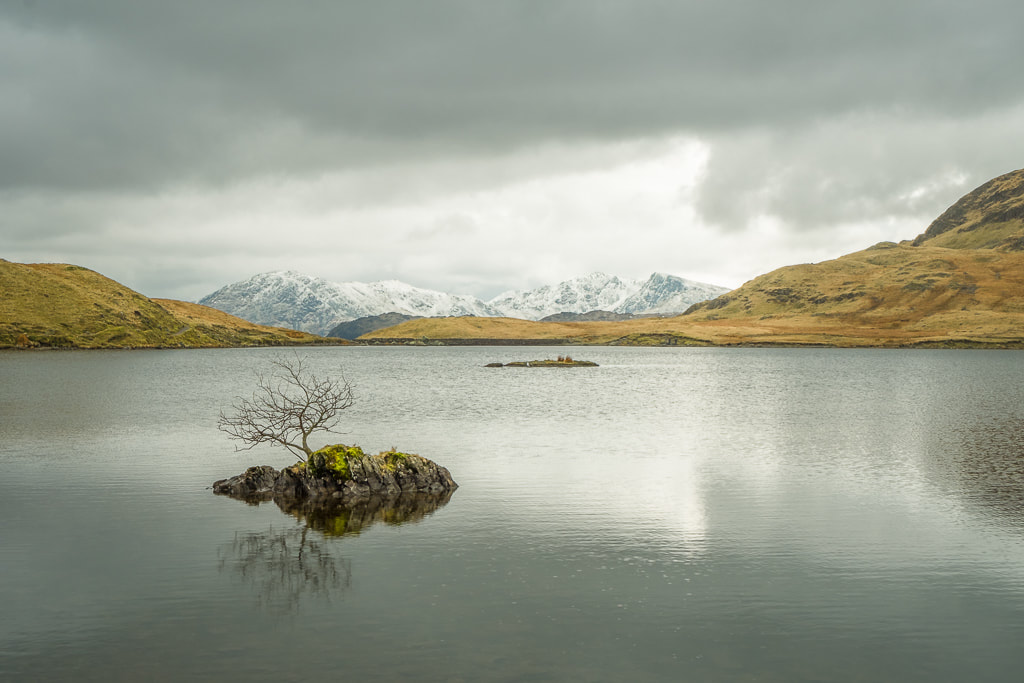
RAW image
|
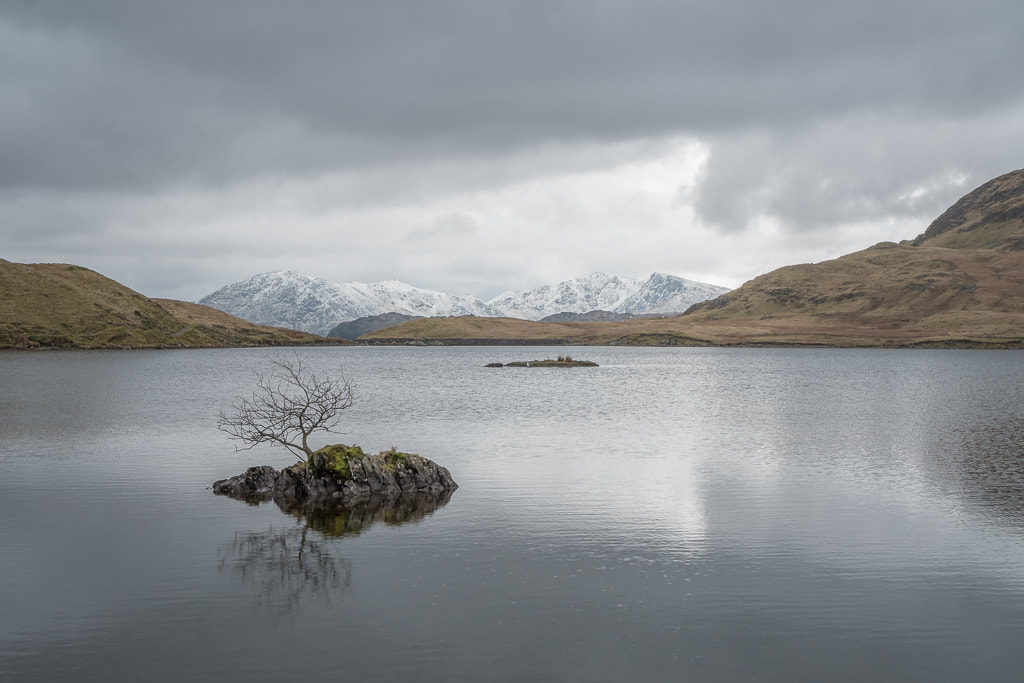
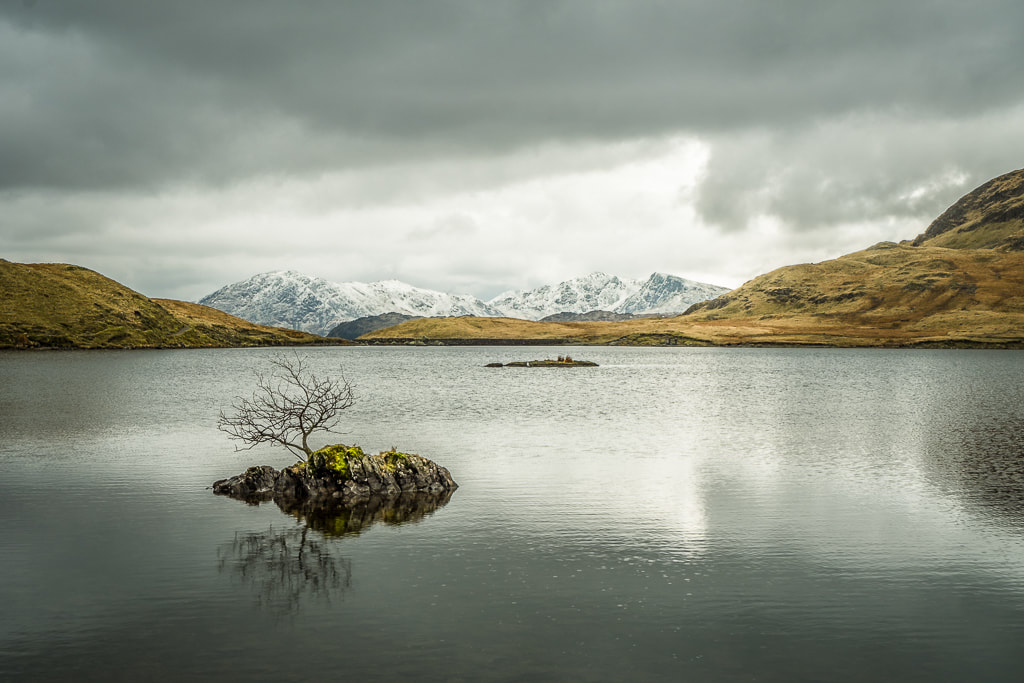
Final image
|

|
|
Capturing the RAW image: a short hike up from the New Dungeon Ghyll Hotel in the Langdale Valley on a very dull day in March held out little hope for great photographs but scrambling around the back of the tarn the freshly snow covered tops of Wetherlam (left) and Swirl How (right) came into view. I spotted the tree on the rock and moved myself into position to get the balance just right using the 'rule of thirds'. I set the zoom to 35mm (50mm) checked ISO 200, and used f11 to ensure foreground and background were in focus. The camera set a shutter speed of 1/80, easy to hand hold. The histogram was well balanced without significant clipping. There were four tiny figures of people by the dam at the far side of the tarn, I used the 'heal' tool to remove the distraction in processing.
"A good photograph is knowing where to stand" Ansel Adams
"A good photograph is knowing where to stand" Ansel Adams
Processing the image: the RAW image is well balanced with very little loss of light detail 'clipping' at either end. I started with adjustments to bring up the shadows, particularly on the rock, and bring down the highlights. It needed a further reduction in the white point to ensure good contrast in the sky. No tone curve was used. I raised the light temperature a little to give the grass some warmth and corrected the resulting purple hue to the sky with a shift of the tint toward the green spectrum. Colour adjustments were used to increase the vibrance and saturation of the image but it is the colour mixer that picks out and increases the saturation of the orange hues and and luminance of the orange, yellows, greens, and turquoise. The clarity slider dramatically increased the contrast between similar tones at a local level and the dehaze tool cleaned up the image very slightly. The split toning, giving the shadows a yellow tint and highlights a blue tint, is the reverse of most of my other images but works well to emphasise the 'cold lake under grey sky' look to the image. Sharpening to just the strongest edges helps make the image 'pop' when viewed at full resolution.

|
RAW Image
The image is very flat but contains almost all the detail seen, see histogram below. 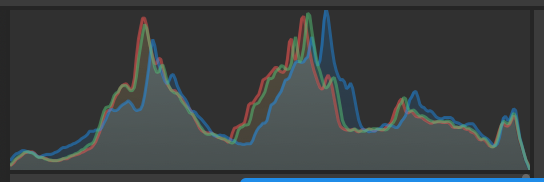
|
|
LIGHT (+HEAL) Tone curve - not used
Exposure +0.3 Contrast 0 Highlights -100 Shadows +100 Whites -20 Blacks 0 'HEAL' tool used to remove four figures in the distance |
|
COLOR
Temperature 5700 (from 5200) Tint +2 (from +16) Vibrance +50 Saturation +15 |
|
COLOR - Color Mixer
Saturation orange +100 Luminance orange +100 yellow +100 green +100 turquoise +100 |
|
Step 3: EFFECTS
Clarity +100 Dehaze +5 Vignette -5 Grain 0 |

|
EFFECTS - Split toning
Shadows: hue 264 Saturation 43 (yellow tint) Highlights: hue 55 Saturation 50 (blue tint) Shadow/ highlights balance 50:50 (slider not moved) DETAILS Sharpening 150 Masking 90 |